How to set up feature flags in Laravel
Feb 15, 2024
Feature flags help you conditionally roll out and release features safely. This tutorial shows you how integrate them in Laravel using PostHog.
We'll create a basic Laravel app, add PostHog, create a feature flag, and then implement the flag to control content in our app.
1. Create a basic Laravel app
First, ensure PHP and Composer are installed. Then, create a new Laravel project called laravel-feature-flags:
Next, replace the code in resources/views/welcome.blade.php with a simple heading and paragraph:
Replace the code in routes/web.php with a route to return our view:
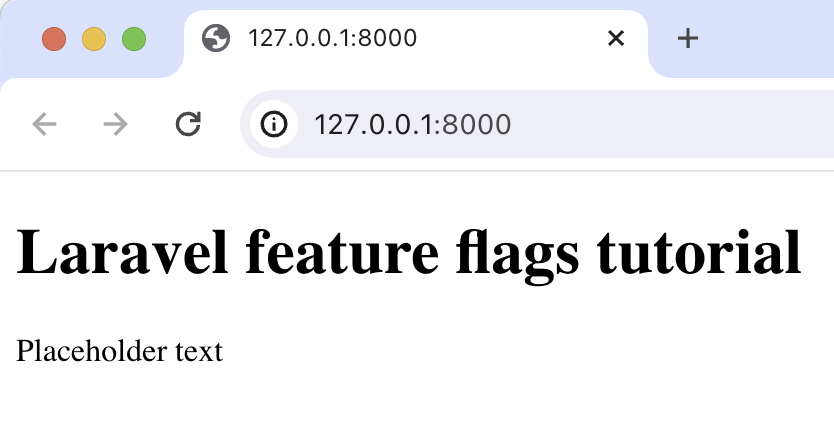
Run php artisan serve and navigate to http://127.0.0.1:8000 to see our app in action.
2. Add PostHog to your app
With our app set up, it’s time to install and set up PostHog. If you don't have a PostHog instance, you can sign up for free.
To start, run composer require posthog/posthog-php to install PostHog’s PHP SDK.
Next, we initialize PostHog in the boot method of app/Providers/AppServiceProvider.php. Replace the existing code in that file with the following:
You can find your project API key and instance address in your project settings.
Lastly, we capture a $pageview event with PostHog in our route:
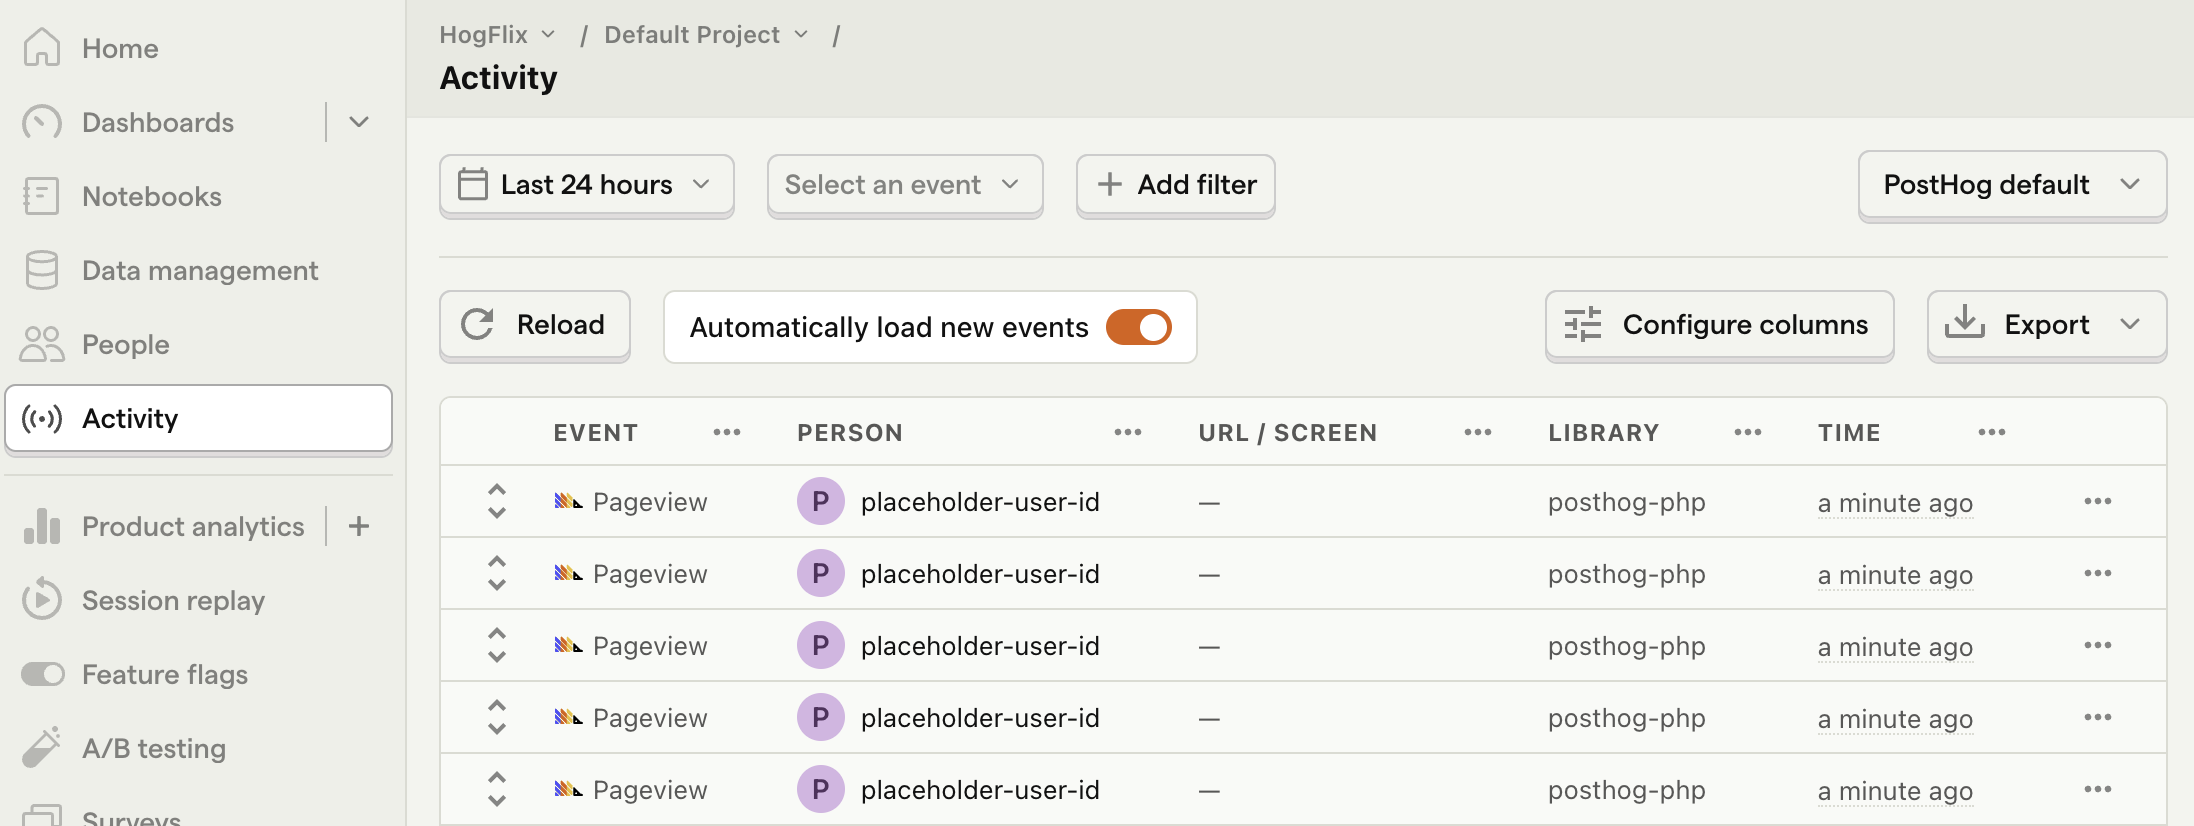
With this set up, restart your app and then refresh your browser a few times. You should now see the captured event in your PostHog activity tab.
3. Create a feature flag in PostHog
With PostHog set up, your app is ready for feature flags. To create one, go to the feature flags tab in PostHog and click New feature flag. Enter a flag key (like my-cool-flag), set the release condition to roll out to 100% of users, and press "Save."
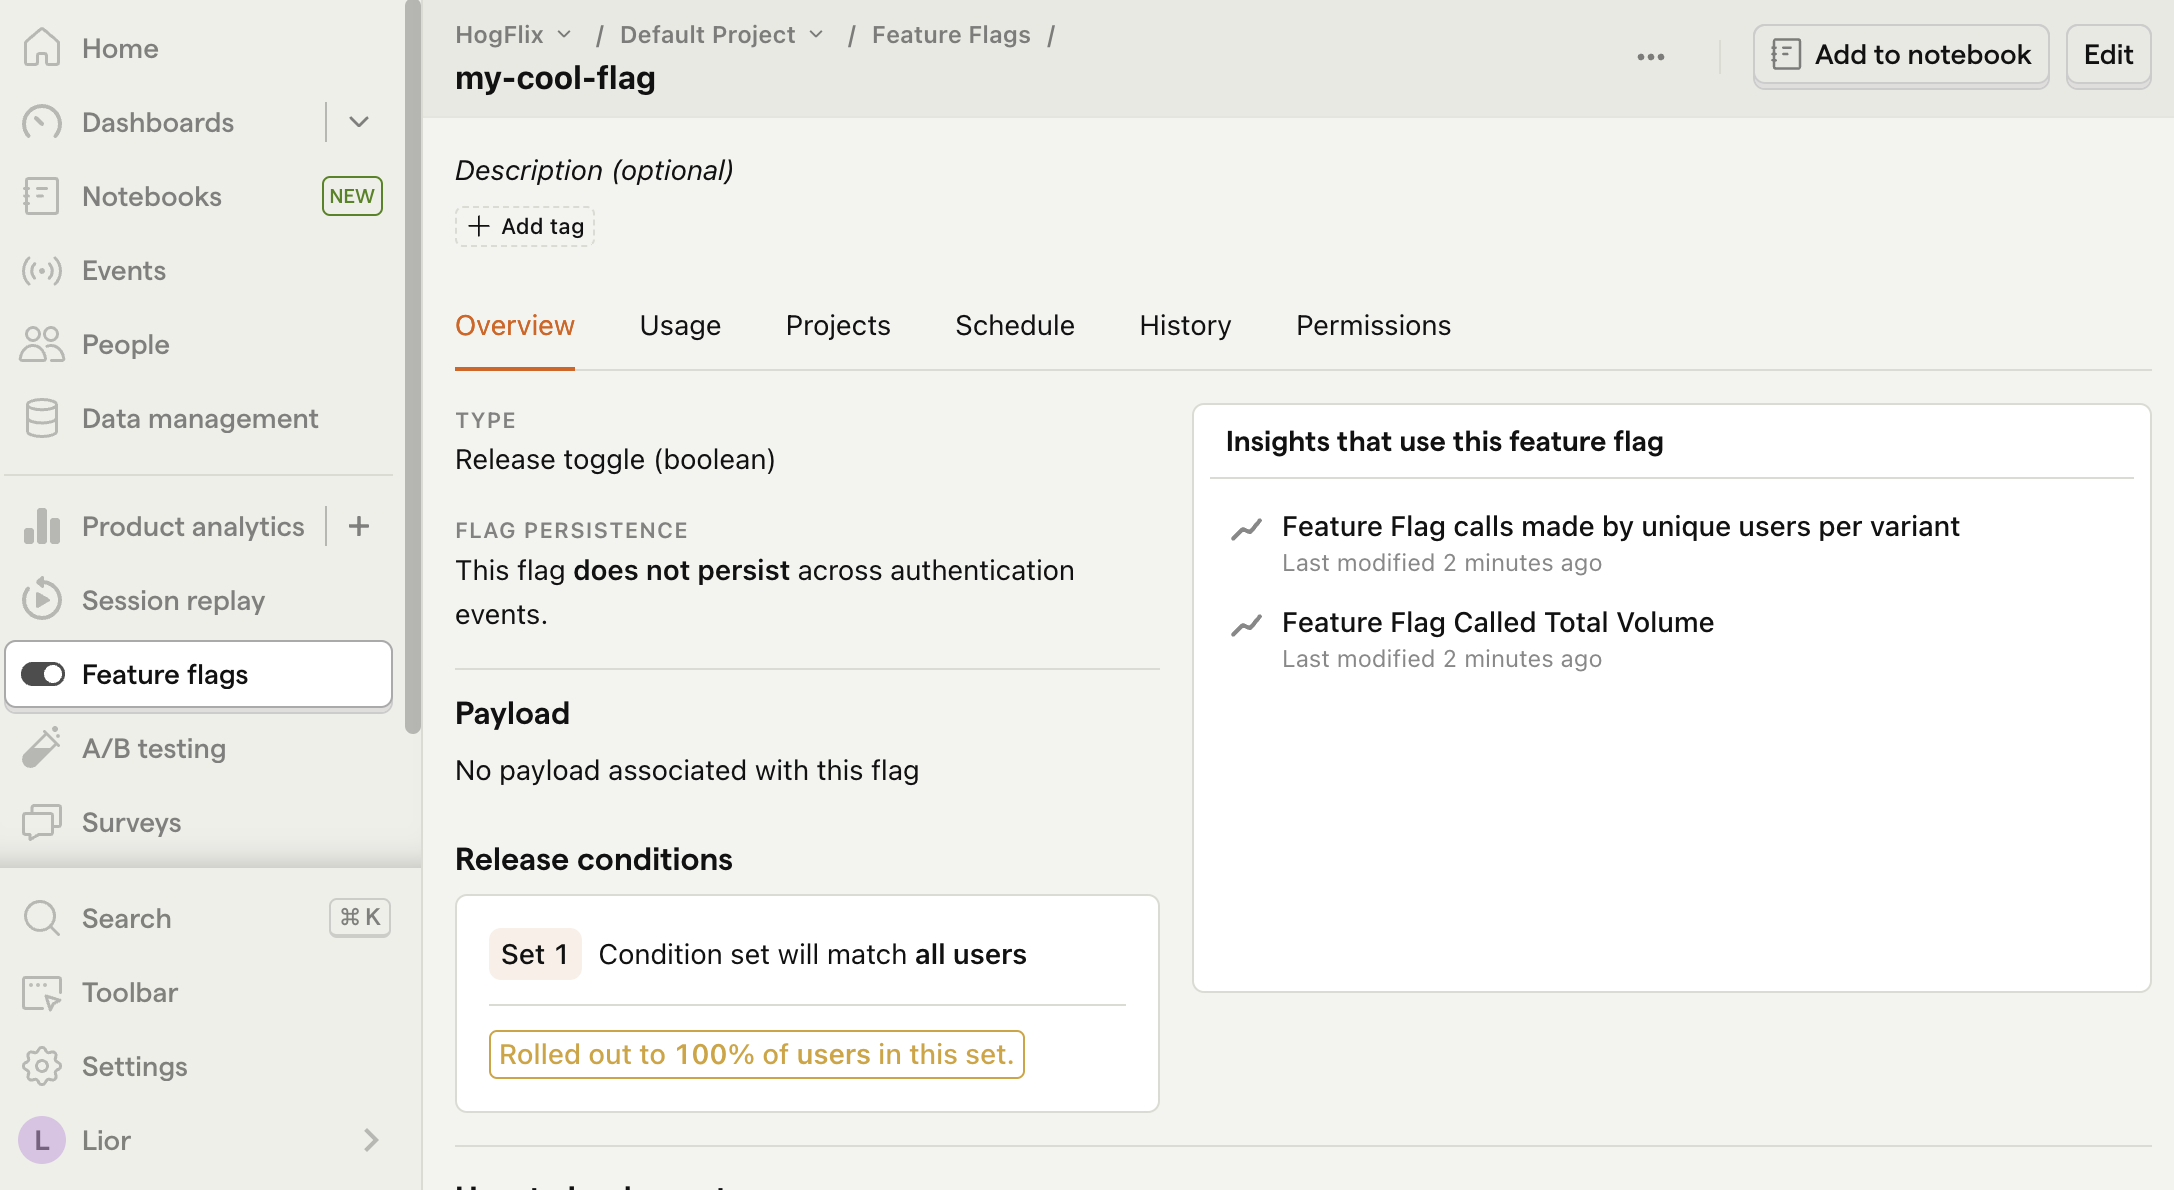
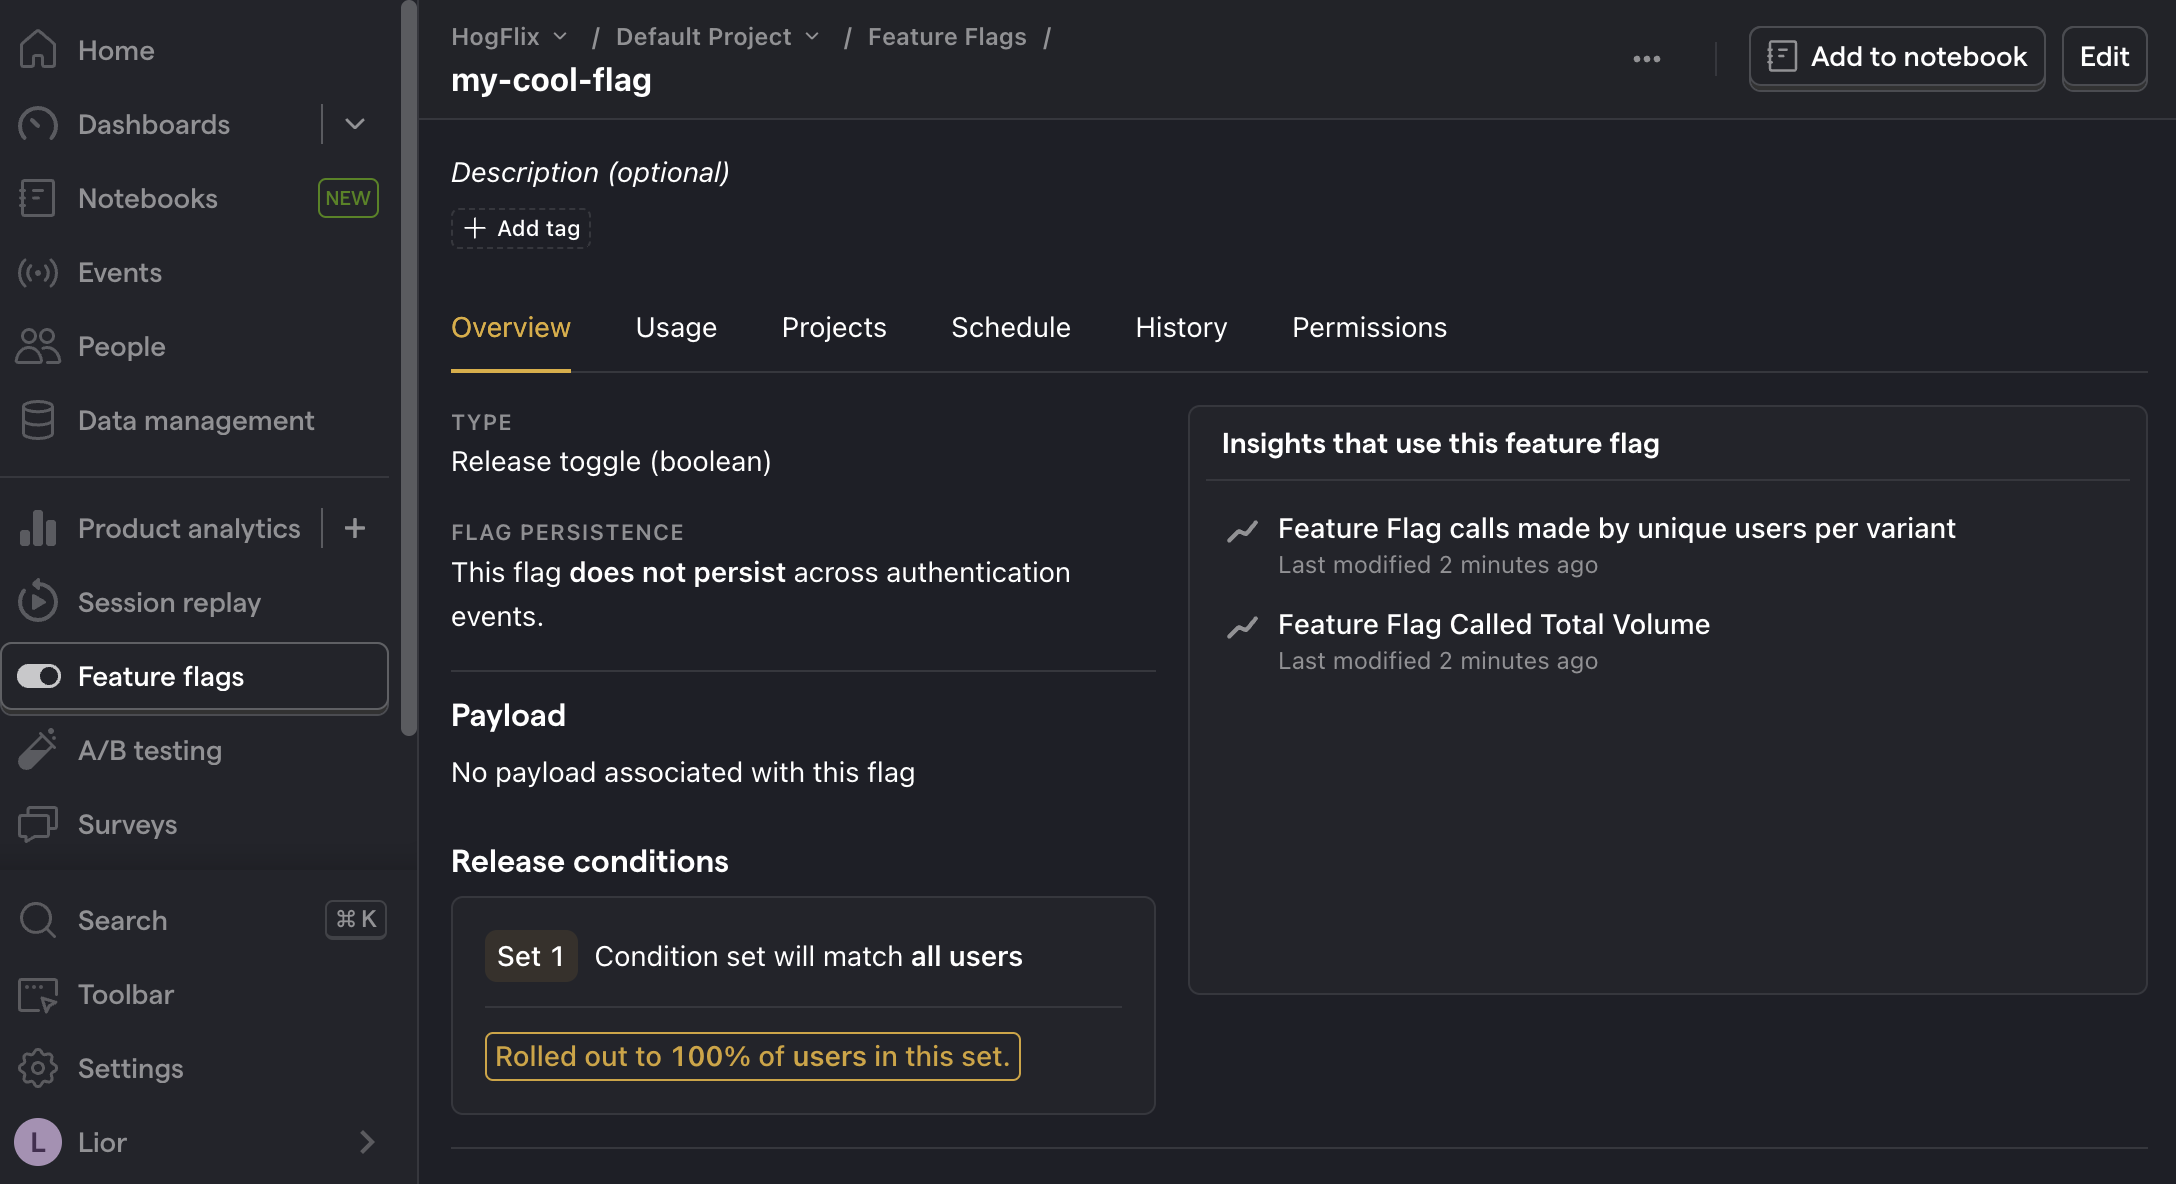
You can customize your release conditions with rollout percentages, and user or group properties to fit your needs.
4. Implement the flag code
To implement the feature flag, we:
- Fetch the
my-cool-flagflag usingPostHog::isFeatureEnabled(). - Update the paragraph text based on whether the flag is enabled or not.
When you restart your app and refresh the page, you should see the text updated to Flag enabled!.
💡 Setting the correct
distinctId:You may notice that we set
$distinctId = 'placeholder-user-id'in our flag call above. In production apps, to ensure you fetch the correct flag value for your user,distinctIdshould be set to their unique ID.For logged-in users, you typically use their email or user ID as their
distinctId. For logged-out users, assuming they made their request from a browser, you can use values from their request cookies. See an example of this in our Nuxt feature flags tutorial.
5. Include the flag when capturing your event
To ensure any captured events are associated with the correct flag value, we need to include our flag information when capturing them. This enables us to breakdown insights by feature flag value.
To do this for our $pageview event, we add the $feature/my-cool-flag key to our event properties when capturing:
Now when your event is captured, you should see the flag value in the event details in PostHog:


Further reading
- How to set up one-time feature flags
- How to set up analytics in Laravel
- How to set up A/B tests in Laravel

Subscribe to our newsletter
Product for Engineers
Practical tips on becoming a better engineer and building successful products. Read by 25k founders and engineers.
We'll share your email with Substack

